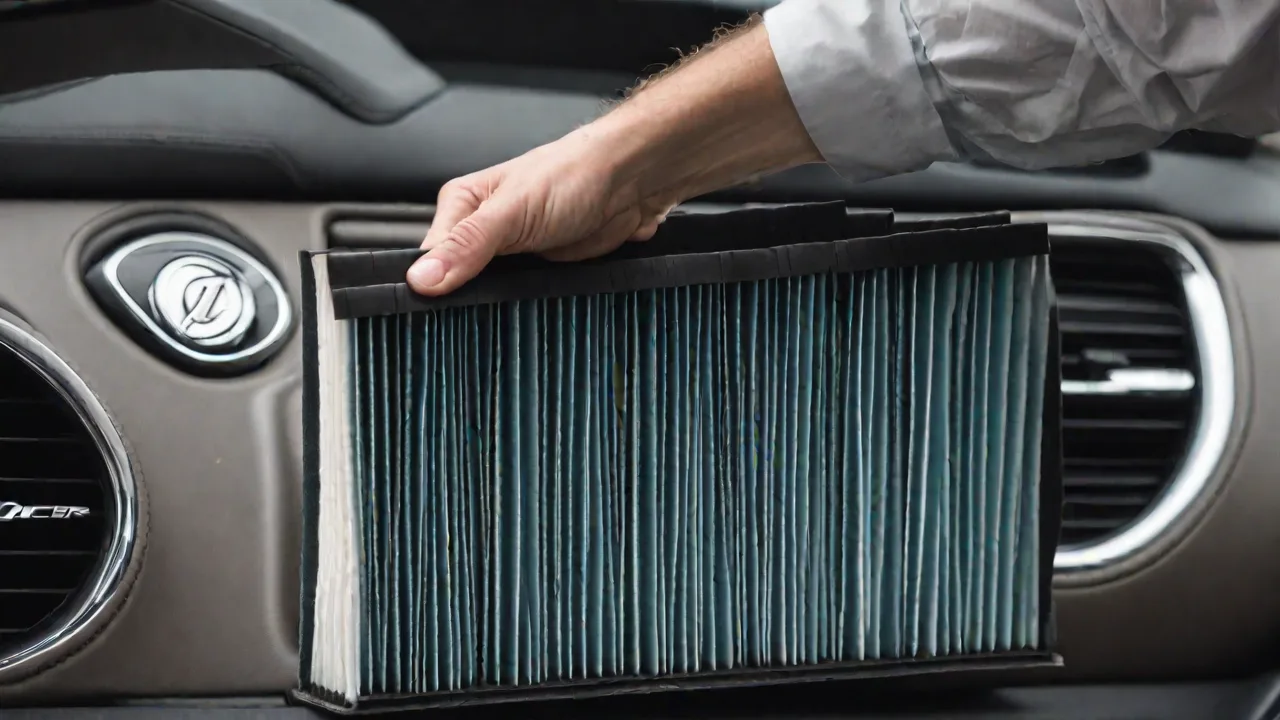
How to Safely Replace the Cabin Air Filter on Everyday MINI Cooper Models 2015 and Later
Maintaining the air quality inside your MINI Cooper is crucial not only for your comfort but also for the longevity and efficiency of your vehicle’s heating, ventilation, and air conditioning (HVAC) system. One of the most important yet often overlooked maintenance tasks is replacing the cabin air filter. For Everyday MINI Cooper models from 2015 and later, this replacement is a manageable DIY project that requires minimal tools and time, allowing you to ensure clean, fresh air inside your car without costly service visits.
Understanding the Importance of the Cabin Air Filter
The cabin air filter plays a vital role in filtering the air that enters your vehicle’s interior through the HVAC system. It traps dust, pollen, dirt, pollutants, and other airborne particles, preventing them from circulating inside your cabin. Over time, the filter can become clogged with debris, which restricts airflow, reduces HVAC efficiency, and can lead to unpleasant odors or even increased allergens inside your vehicle.
Neglecting to replace a dirty or clogged cabin air filter can have several negative consequences:
- Reduced HVAC performance: Your air conditioning or heating system has to work harder to push air through a clogged filter, which can strain components and increase energy consumption.
- Poor air quality: Accumulated dust and pollen reduce cabin air quality, potentially aggravating allergies or respiratory issues.
- Foggy windows: Insufficient airflow can affect the defrosting and defogging efficiency of your windshield and windows, compromising visibility and safety.
Recommended Replacement Interval for MINI Cooper Models
Most manufacturers, including MINI, recommend replacing the cabin air filter approximately every 15,000 to 20,000 miles or at least once annually, whichever comes first. However, the replacement interval may vary based on driving conditions:
- Urban driving: If you frequently drive in heavily polluted or dusty city environments, replacing the filter more often is advisable.
- Rural or dusty areas: Driving on dirt roads or in agricultural areas can cause the filter to clog faster due to increased particulate matter.
- Allergy season: If you or your passengers suffer from allergies, consider more frequent filter changes during high pollen seasons.
Signs that your cabin air filter may need immediate replacement include:
- Noticeable musty or moldy odors when the HVAC system is running
- Persistent dust or debris settling inside the cabin
- Reduced airflow from vents despite adjusting fan speed
- Increased allergy symptoms or respiratory discomfort inside the vehicle
Tools and Materials You Will Need
Replacing the cabin air filter in your 2015 or newer MINI Cooper requires only a few basic tools, which you may already have at home:
- Replacement cabin air filter: Always purchase a filter designed specifically for your MINI Cooper model and year to ensure proper fit and filtration efficiency. OEM filters are recommended, but high-quality aftermarket options are also available.
- Flathead screwdriver or trim removal tool: Useful for gently releasing the glove compartment stops and filter housing clips without damaging interior panels.
- Clean microfiber cloth: For wiping down the filter housing and surrounding area before installing the new filter.
- Optional: Disposable gloves and a mask: To protect yourself from dust and allergens when handling the old filter.
Detailed Step-by-Step Guide to Replacing the Cabin Air Filter
Step 1: Prepare Your Vehicle
Begin by turning off your MINI Cooper’s engine and ensuring the vehicle is parked on a flat, stable surface. Open the passenger side door fully to give yourself ample workspace. Remove any items from the glove compartment to avoid spills or damage during removal.
Step 2: Remove the Glove Compartment
The cabin air filter is located behind the glove box. To access it:
- Locate the stops or stoppers on either side of the glove compartment. These prevent the glove box from falling out completely.
- Using a flathead screwdriver or trim removal tool, gently press or pry these stops inward to release them. Take care not to apply excessive force to avoid breaking plastic components.
- Once the stops are released, carefully lower the glove box down and away from the dashboard, exposing the filter housing behind it.
Step 3: Open the Cabin Air Filter Housing
The filter housing cover is secured with clips or tabs. To remove it:
- Identify the locking tabs along the perimeter of the filter housing cover.
- Press or pull these tabs gently to release the cover.
- Remove the cover fully, setting it aside in a safe place to avoid damage.
Step 4: Remove the Old Cabin Air Filter
Carefully slide out the old cabin air filter from the housing. Be mindful that the filter may be loaded with dust and debris.
- Observe the directional arrows printed on the filter, which indicate the correct airflow direction.
- If the filter is dirty or clogged, consider disposing of it carefully to avoid dispersing dust in the cabin.
Step 5: Clean the Filter Housing
Before installing the new filter, use a clean microfiber cloth to wipe down the inside of the filter housing and surrounding area. Removing accumulated dust and debris ensures optimal filter performance and prevents contaminants from entering your HVAC system.
Step 6: Install the New Cabin Air Filter
Insert the new cabin air filter into the housing, making sure the airflow arrows on the filter align with those indicated on the filter housing. Proper orientation is critical to ensure effective filtration and system performance.
Step 7: Reassemble the Filter Housing and Glove Compartment
- Replace the filter housing cover and press firmly until all clips or tabs snap back into place.
- Lift the glove compartment back into position, re-engaging the stops on each side. You should feel or hear them click into place securely.
- Return any items you removed from the glove compartment to their original positions.
Step 8: Test the HVAC System
Start your MINI Cooper and turn on the air conditioning or heating system at various fan speeds. Check that airflow feels strong and consistent, and that any previous odors or stuffiness have been resolved. If the airflow remains weak or unusual smells persist, recheck the filter installation or consult a professional mechanic.
Additional Tips for Cabin Air Filter Maintenance
- Keep spare filters on hand: If you frequently drive in dusty or polluted environments, having an extra filter can save time and ensure continuous air quality.
- Inspect filters regularly: Even if you haven’t reached the recommended mileage, visually inspect the filter during routine maintenance to detect early signs of clogging or damage.
- Consider upgrading your filter: Some aftermarket filters offer enhanced filtration capabilities, such as activated carbon layers, which help reduce odors and harmful gases.
- Be mindful of water intrusion: If you notice water pooling near the glove compartment or filter housing, have your MINI Cooper inspected for leaks. Moisture can damage the filter and promote mold growth.
Common Questions About MINI Cooper Cabin Air Filter Replacement
Can I use any cabin air filter for my MINI Cooper?
It’s important to use a filter designed specifically for your MINI Cooper’s model year and variant. Filters vary in size, shape, and filtration technology. Using an incorrect filter can lead to poor fitment, reduced filtration efficiency, and possible damage to the HVAC system.
How long does it take to replace the cabin air filter?
For most MINI Cooper models from 2015 and later, replacing the cabin air filter takes approximately 15 to 30 minutes, depending on your familiarity with the process and tool availability.
Is it necessary to replace the cabin air filter if I don’t notice any issues?
Yes. Even if you don’t notice symptoms, replacing the cabin air filter at recommended intervals helps maintain optimal air quality and HVAC system performance. Filters degrade over time and accumulate unseen particles.
Can I clean and reuse the cabin air filter?
Cabin air filters are generally designed as disposable components. Cleaning methods such as vacuuming or washing may damage the filter media or reduce filtration effectiveness. It’s best to replace the filter with a new one.
Conclusion
Replacing the cabin air filter in your Everyday MINI Cooper model from 2015 or later is a simple yet crucial maintenance task that directly contributes to a healthier and more comfortable driving environment. By following the step-by-step guide outlined above, you can confidently perform this maintenance yourself, saving time and money while protecting your vehicle’s HVAC system. Regular filter changes not only improve air quality and airflow but also help prevent HVAC system wear, ensuring your MINI Cooper keeps you comfortable season after season.
For the most accurate and model-specific guidance, always refer to your MINI Cooper owner’s manual or consult a qualified MINI technician. With proper care, your MINI will continue to deliver the premium driving experience you expect.